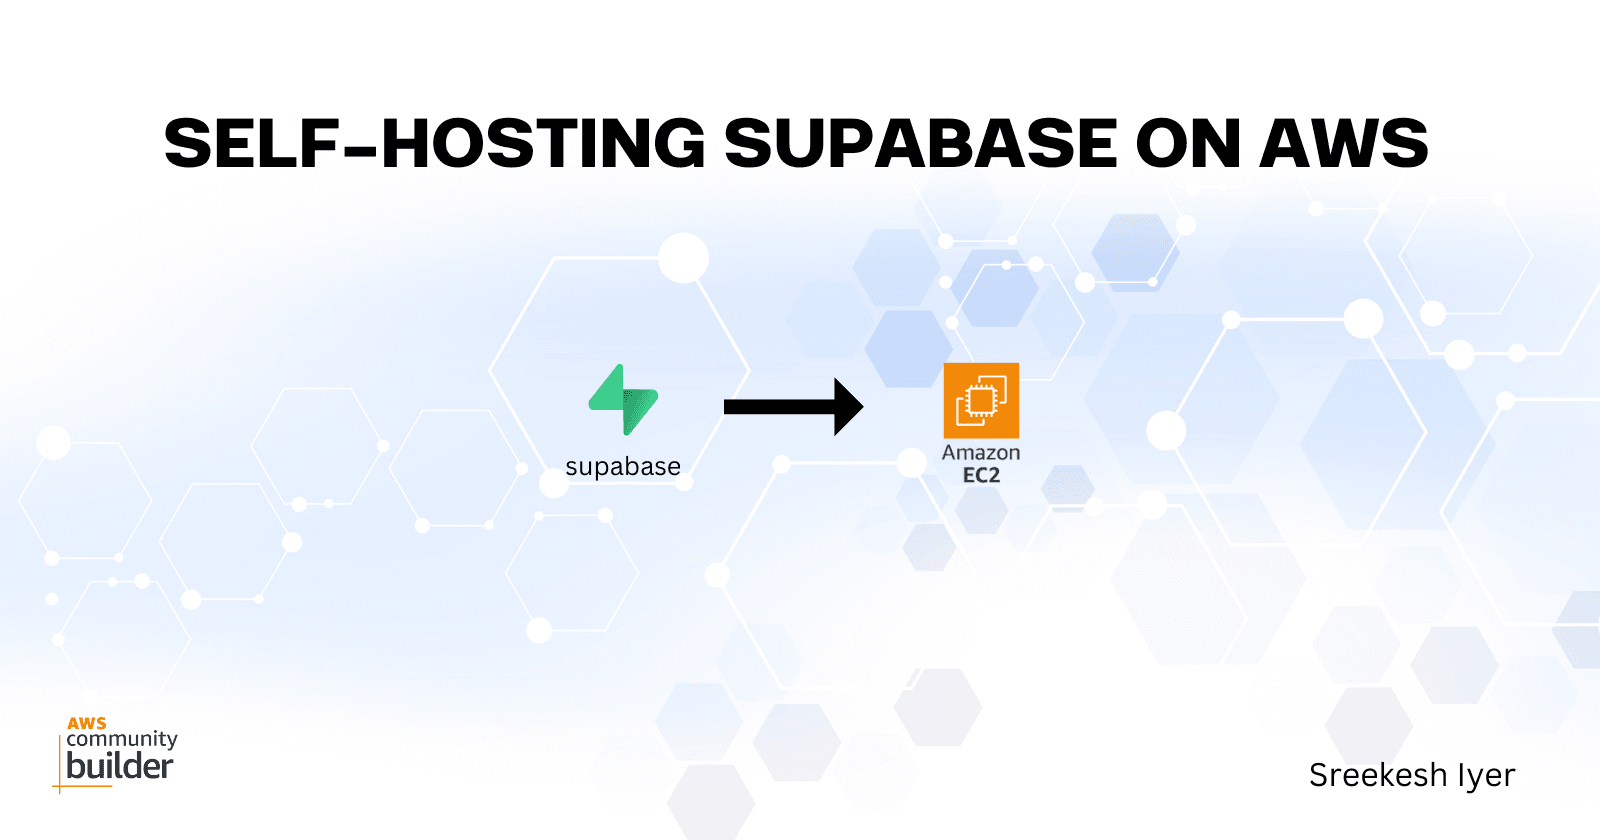
Self Hosting Supabase on AWS
Few interesting things about me:
- Software Engineer @ JP Morgan Chase & Co.
- AWS Community Builder 2023
- I love working with technology
- I enjoy playing video games 😄
Hi there, folks!
Supabase is a BaaS (Backend-as-a-service) I've been using for my full-stack projects for almost 2 years. It's an amazing service that is open source, runs on top of Postgres and brings cool features like auth (even third-party auth support for a zillion providers), storage, realtime and much more.
Why self-host Supabase?
You can totally work with Supabase on the Cloud, as easy as it gets. But if you are on its Free Tier, you have limited access to some of the features of the application. And that's any service, not just Supabase.
I feel that is why it's great to have the freedom to self-host these service-based applications because you get full control of how they run.
What this does is that it gives you control over the infrastructure on top of which it runs, so you can take care of the scaling process as and when needed.
Or you don't want to see Ant's emails every week. Yeah, that's about it.
In this article, I'm going to cover how we can quickly get Supabase up and running self-hosted on an AWS EC2 Instance. Let's get going!
The Supabase Documentation already mentions an article on how you can self-host it using Docker. We're going to follow it as well :)
Before getting started, let's take a look at the things we are going to need:
An AWS Account
Preferably a few AWS credits, you may incur a bill
Let's start by creating our EC2 instance on AWS!
Setting up the EC2 Instance
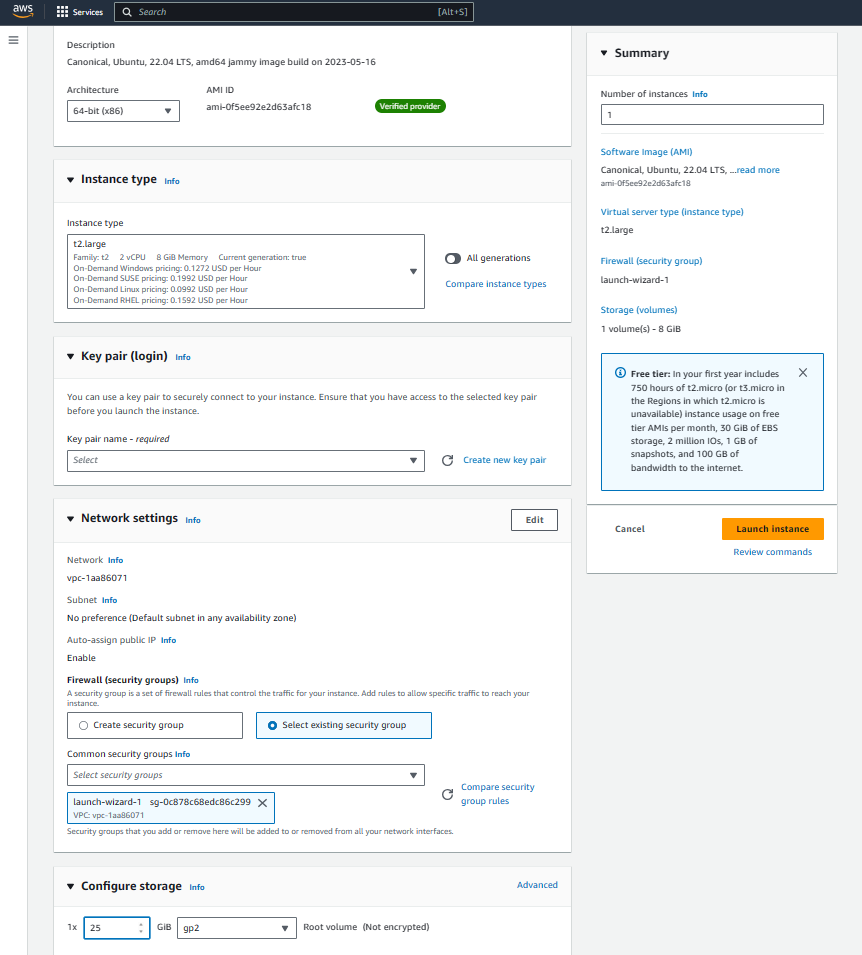
When you're launching a new EC2 instance, make sure you select the Ubuntu AMI, any instance type that has more than 4GB RAM, and preferably 20GB of storage.

Another thing is that you need to ensure you have all TCP ports and IP addresses open for inbound connections in your Security Group (not recommended in production, of course)
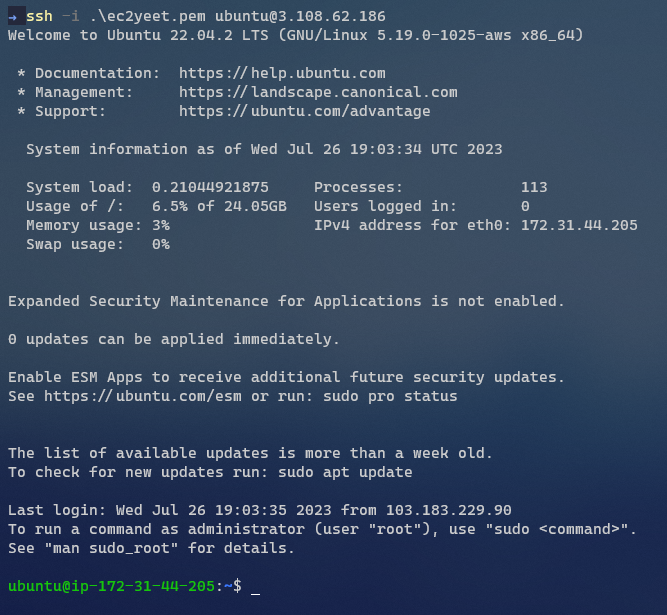
Once you've launched the instance, you can connect to it on the browser using EC2 Instance Connect, or if you've got a thing for fancy terminals like me, use SSH along with your key-pair to use your good old Terminal. Keep in mind, you use the Public IPv4 address along with the username ubuntu to connect.
Installing all dependencies
Before we start installing dependencies, we're going to update our package list by running sudo apt-get update -y
After that, we're going to install Docker.
Installing Docker
curl -fsSL get.docker.com -o install-docker.sh
# This scripts installs the latest version of Docker Engine in your Linux machine
sudo sh install-docker.sh

## If you want to use Docker aommands without sudo or admin privileges
sudo usermod -aG docker ubuntu
## After running this command, reboot the instance for it to reflect
We'll install Docker from its install-docker script on the official Docker website. You can continue using Docker as a super user OR just update the local user group and reboot your EC2 instance. It doesn't take long.
Next up, we're going to set up Supabase!
Setting up Supabase
## Following from their documentation
# Clone their repository
git clone --depth 1 https://github.com/supabase/supabase

# Go to the docker folder
cd supabase/docker

# Copy the fake env variables
cp .env.example .env
As mentioned in their documentation, all we need to do is clone the Supabase repository, copy and change the environment variables and get going!
As good practice, NEVER work with the default environment variables.
nano .env
## Once you've made the changes, Ctrl+S to save and Ctrl+X
## to quit Nano and return to the shell.

## Then run docker compose up command to start the server
## This spins up
docker compose up
You can use Nano to edit the .env file and make changes to your keys. You can follow the documentation to generate new keys and secrets. Once you've done that, you can run docker compose up to get things up and running!
Check out The Studio
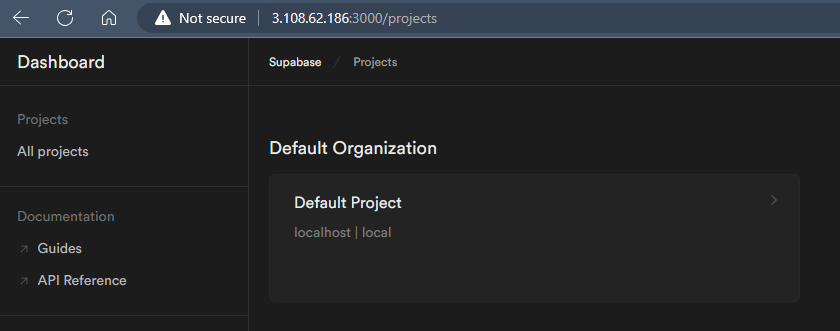
At this point, you can check out if the Supabase Studio runs on http://<YOUR_PUBLIC_IP>:3000/projects
If you want to stop the service, you can do so by pressing Ctrl+C or running docker compose down if you're on a different shell window.
Recommended Cleanup

Make sure you terminate your EC2 instance after you've stopped using it, or you may have a few unpleasant AWS billing-related emails coming your way.
Are the AWS billing emails worse than Ant shutting down your Supabase projects every week? Debatable. We can talk about it.
That's it for this article, folks. Hope you liked it, I'll see you in the next one :)